FreeCad is hell. No other way to put it besides that, there’s no simple way to do anything on the program. I don’t think I’ve ever been more frustrated trying to get something to work, whether it was trying to get it to open on my computer (may have been user error) or trying to get my sketch to pad without it disappearing.
The tutorial was hard enough to finish and that is supposed to be the easiest thing however I found it more difficult than trying to put together my own designs. I however after restarting about 5x got the tutorial finished and looking the way it is supposed to.
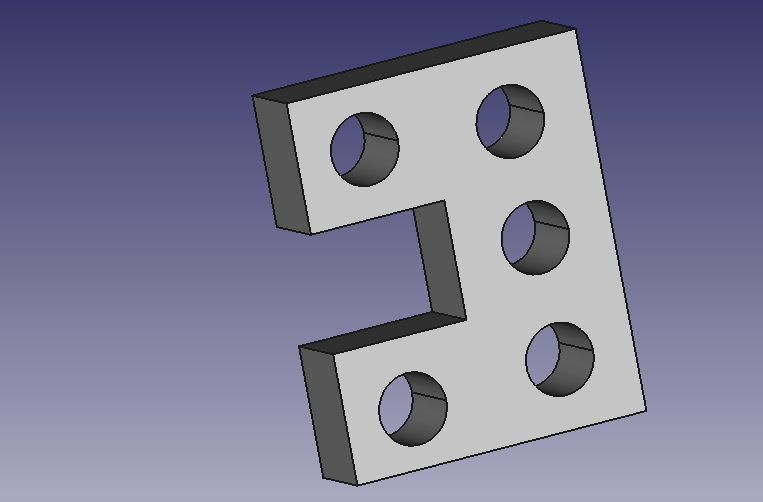
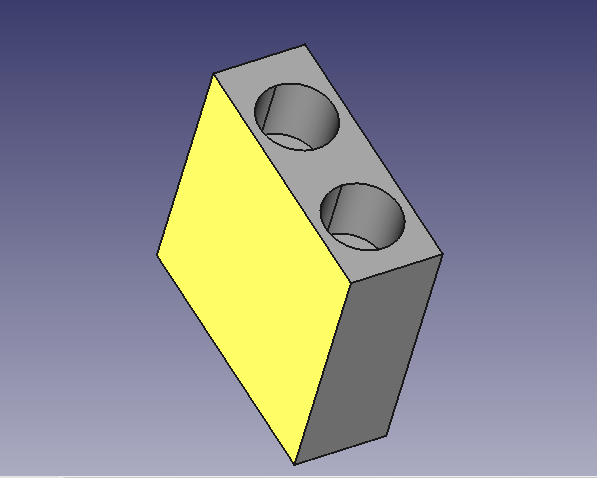
As far as the desk gadget went I kept it simple in order not to overcomplicate things even more. I simply went with a rectangle design to fit on the desk, padded it and then created a new sketch on the left side with multiple different holes of different sizes to hold all your cord necessities, no matter the size and then used the hole tool to make a hole “through all”. I did do another one that turned out little worse than the hole-y one but I think it would to hold cords just as well though it is a tad bit thin. I used pretty much the same steps as the first gadget design, though instead of the circle tool I used an arc and then used the pocket tool.
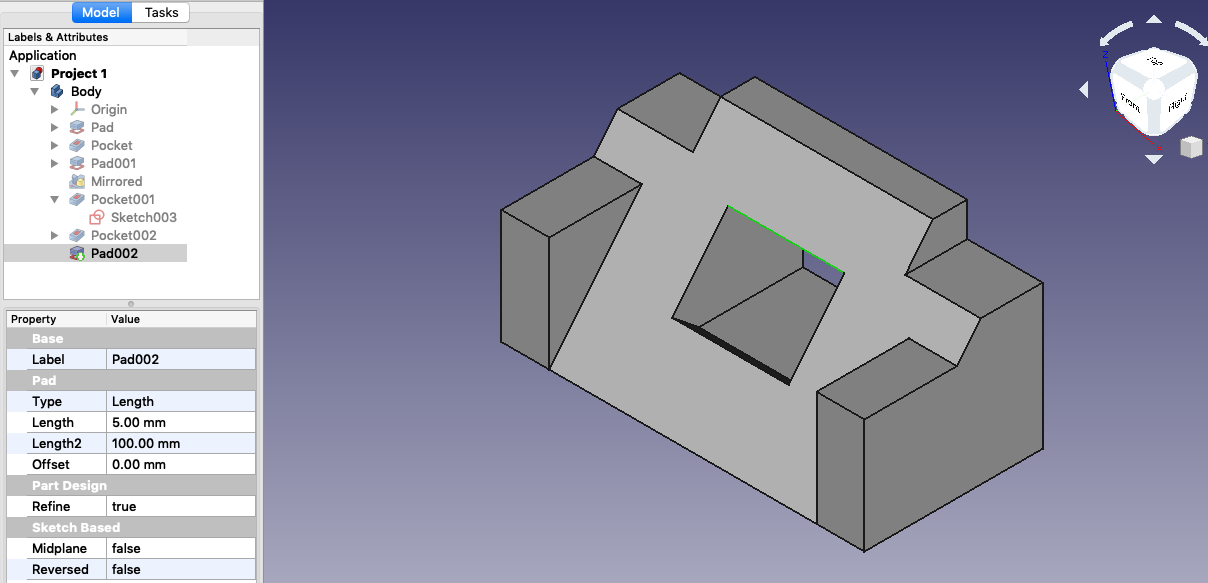
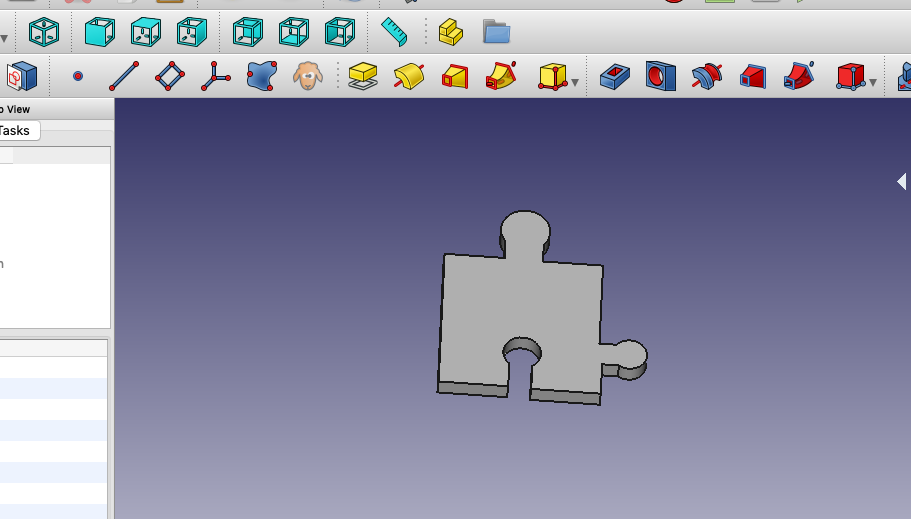
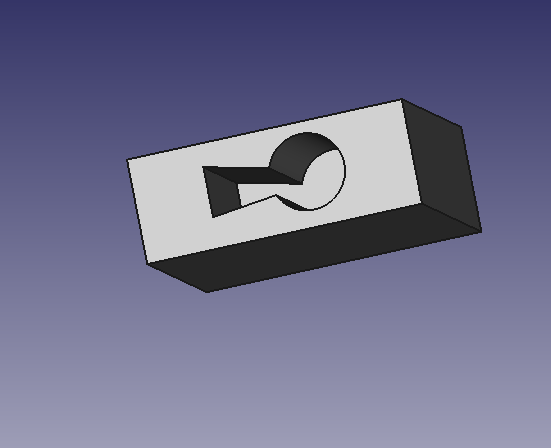
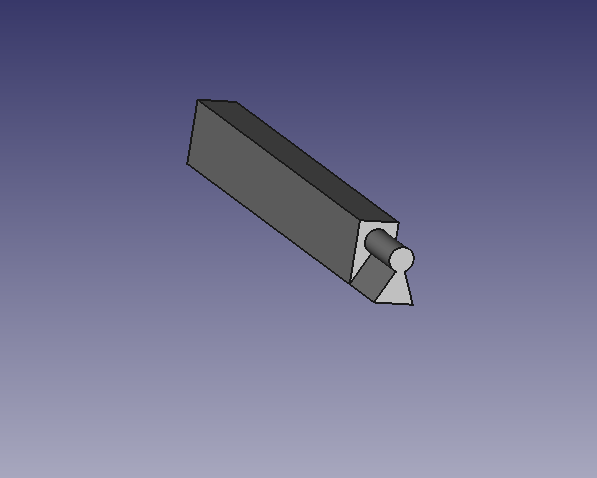
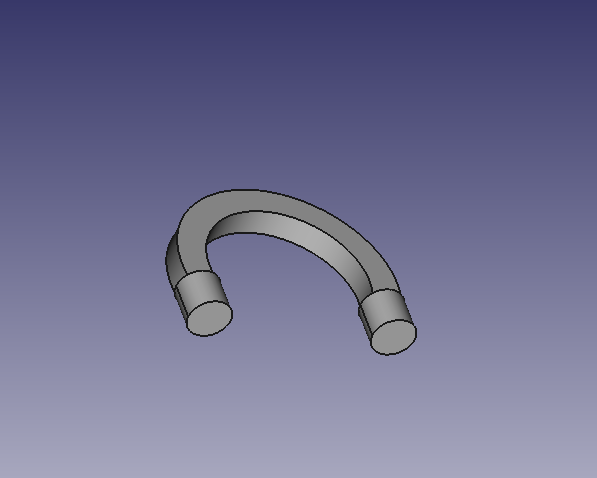
The two different locking pieces that would stay together presented a different challenge of making sure that the where the pieces would stick together were the same size and would actually hold. I made two different designs for this one, an original lock using two cylinders and then a key that would fit in the bottom and then I did a simple set of two puzzles pieces that fit together. The lock is very interpretive seeing as it doesn’t really look like a classic lock but more like a kid lock that corporate shapes. I began with a square, then padded it, and then created a new sketch using the top to create two circles and put a hole in it and then on the bottom I used an arc and the polyline tool to create the simple key shape hole. In two separate documents I used the same measurements as the key hole to create the key and just added that on to a rectangle shape and the padded it to make it dimensional. The top lock handle was a bit more difficult as I couldn’t figure out how to integrate the curve with the cylinders at the end hence the weird shape but I used the same dimension from the lock once again and then padded the cylinders on the bottom of the handle. The puzzle pieces were simple just creating a basic puzzle pice shape with the outward and inward pieces and then padding it to make it dimensional. Then the second piece which sticks into the the first piece at the bottom, was the made the same way but for using the dimensions of the hole in piece one I created the outward design to ensure they would stick together. ( The puzzle pieces are in order in the pictures, the second piece sticks to the first at the bottom)
Last picture is of the desk that would hold the gadget for the cords.
I never want to work with FreeCad again.