Projects

VR Creation and Play Post

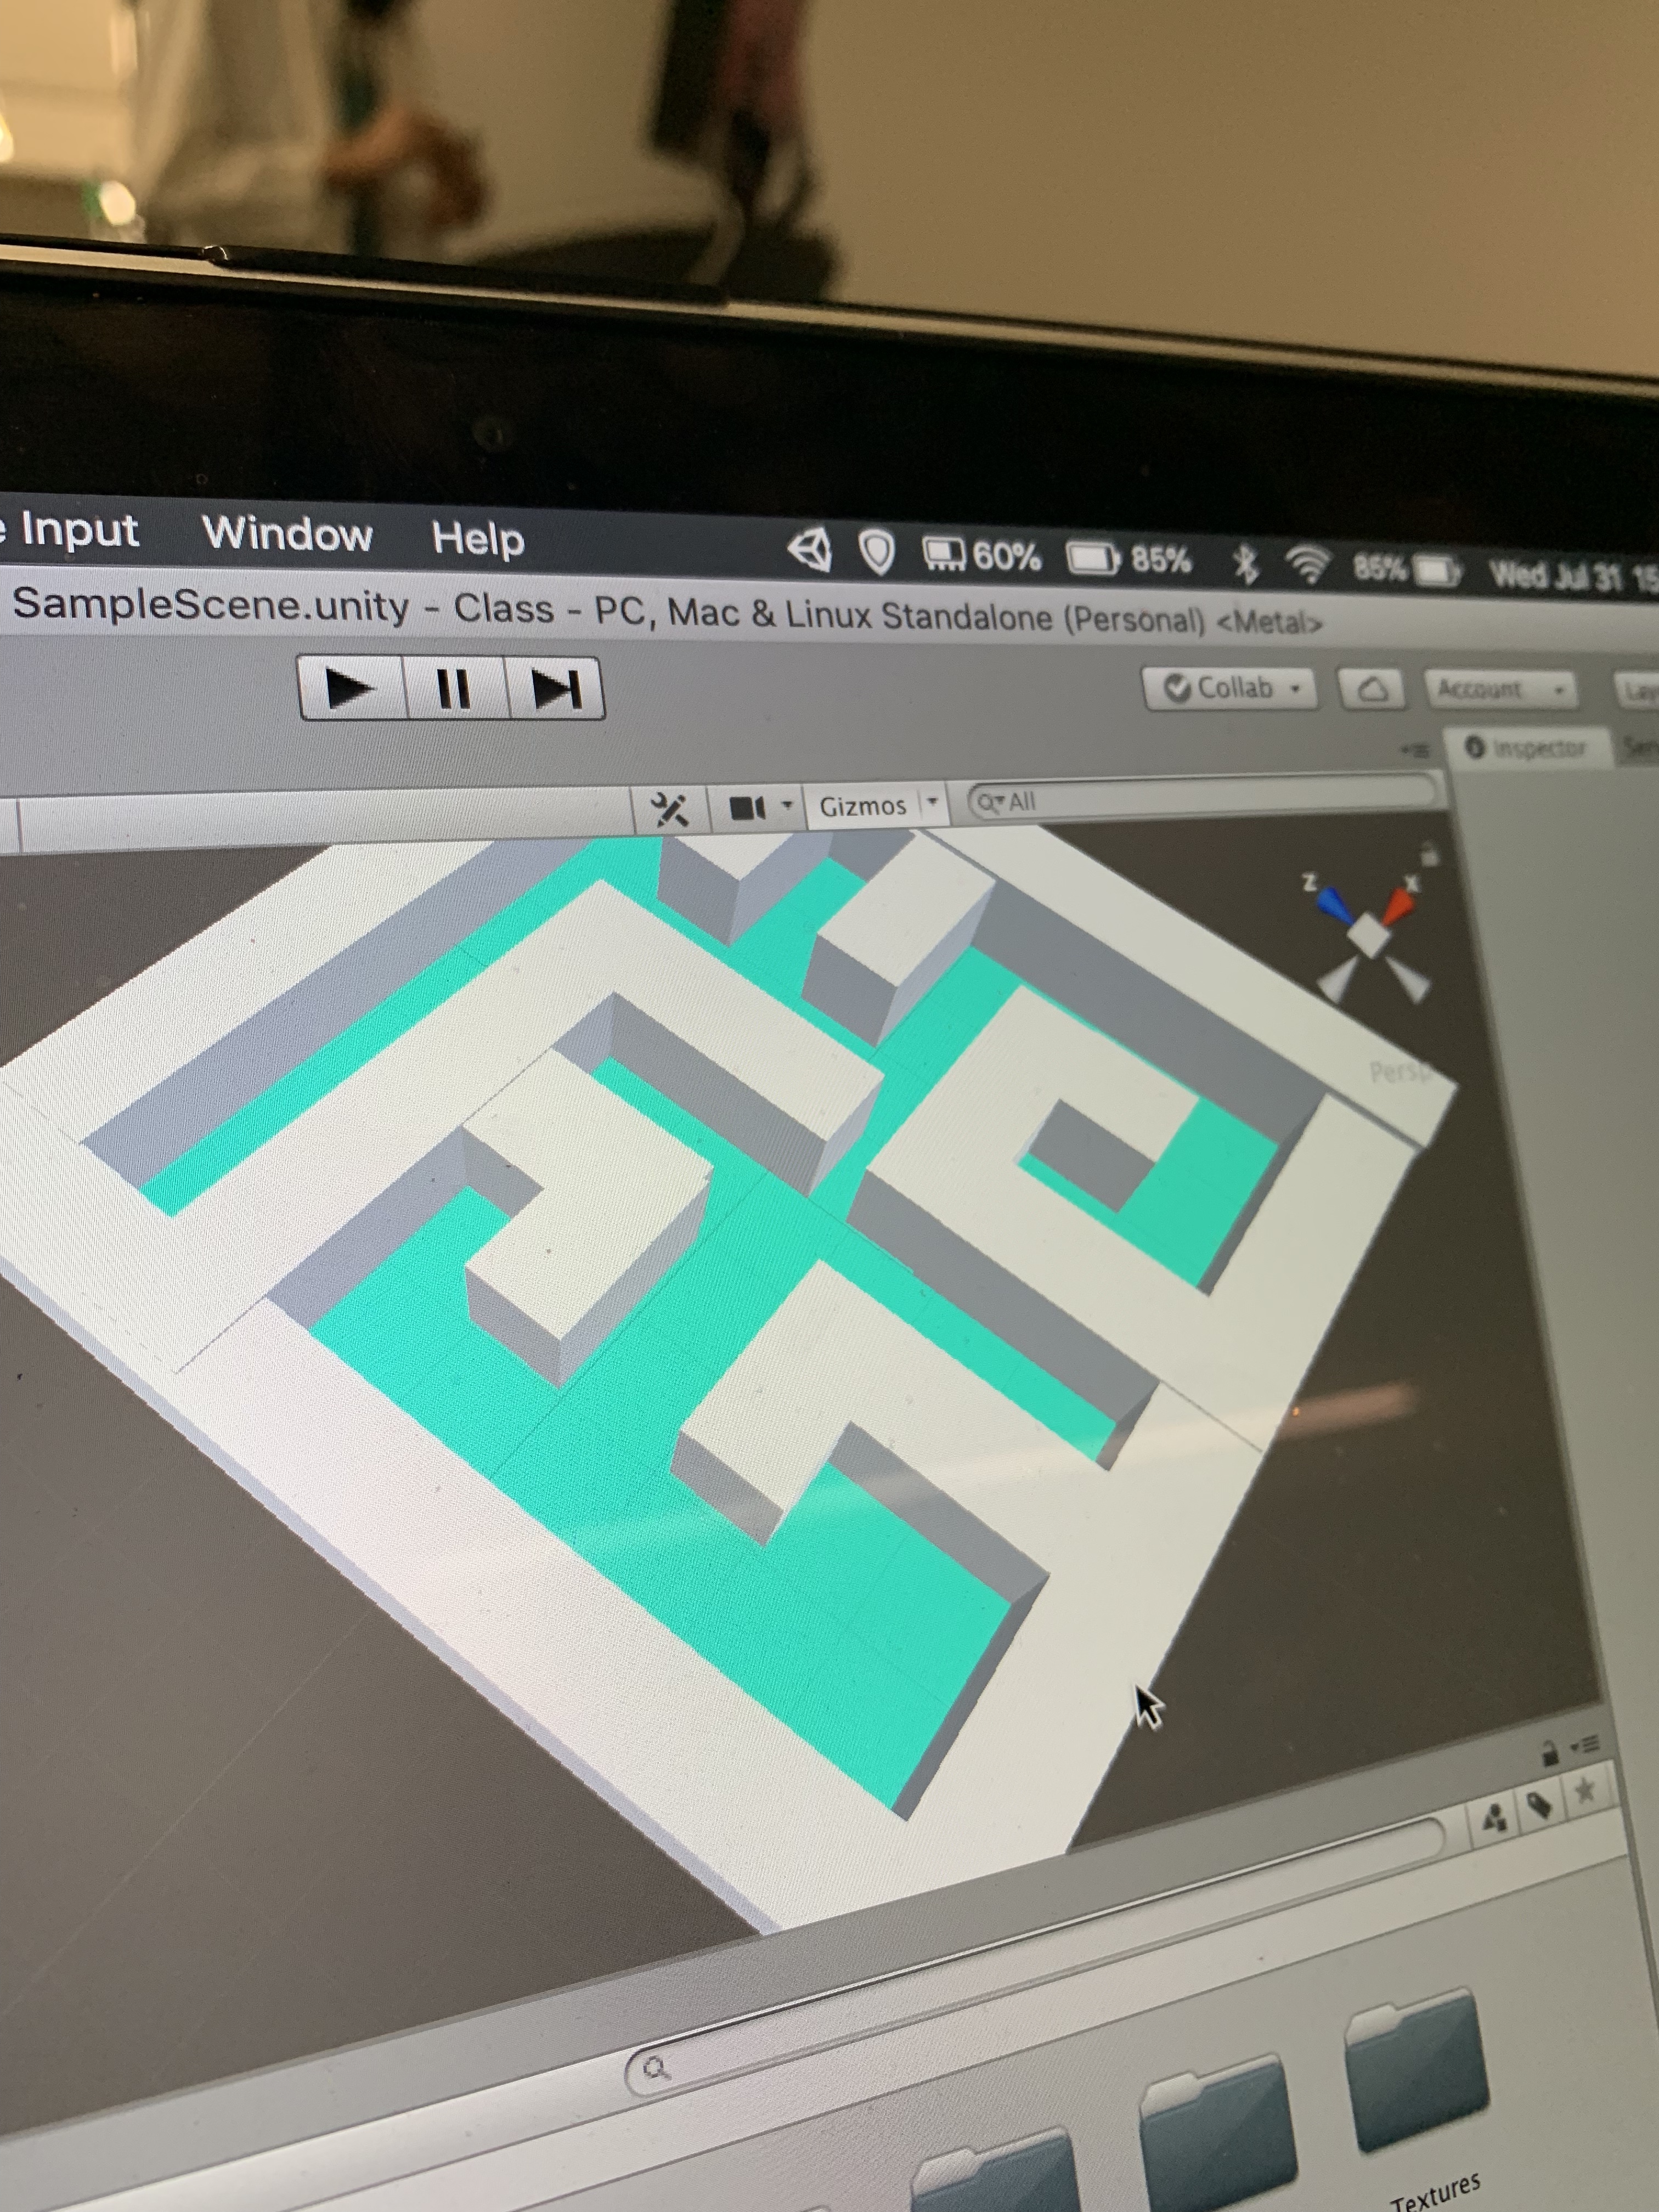
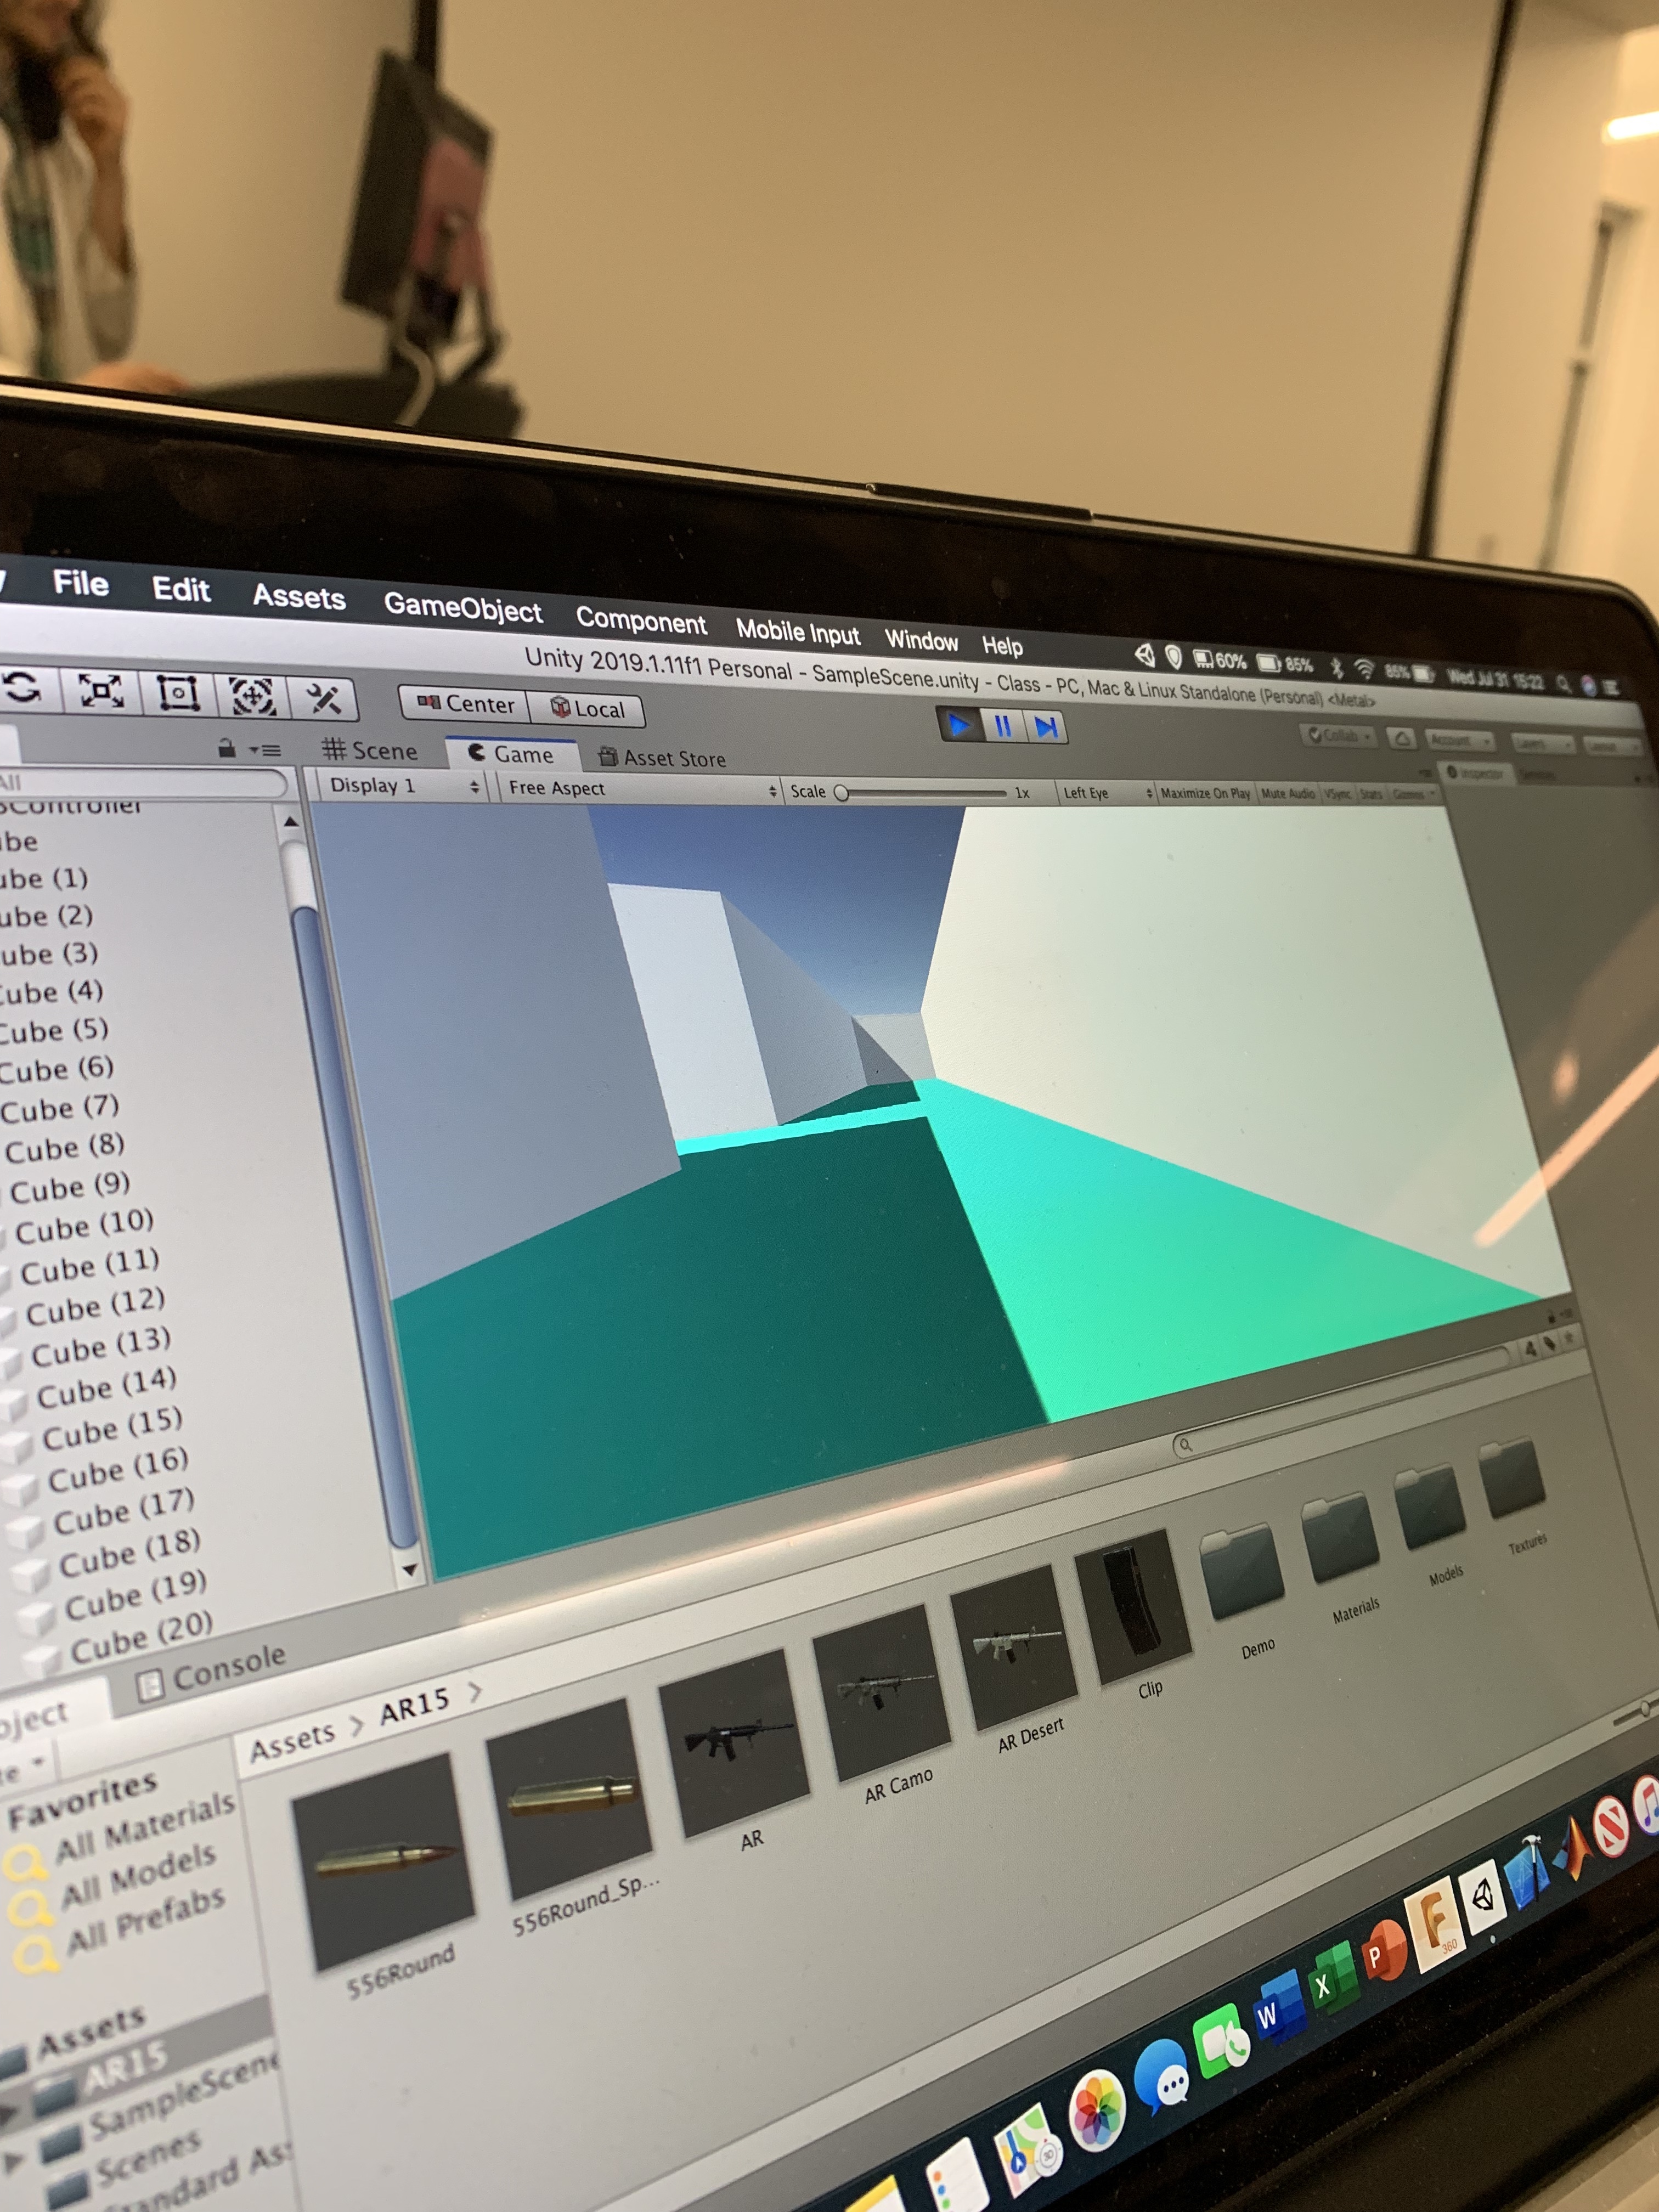
For our VR game we decided to do something simple because we didn’t have much time to create it before it is due. We designed a maze by putting it on a graph paper type grid and then just plugging in the x and y coordinates of where the walls were supposed to go which made the process of building it go 10x quicker than just dragging and dropping individual pieces. I think one of the cooler aspects of the game is that our “player” is a gun rather than it just being you or a person. The starting point of the maze is long corridor on the left and there is no end point just to kind of confuse someone who is not familiar with the game. The maze may seem rather simple however when you actually put the VR headset on the walls are humongous and therefor kind of disorienting, this is what makes it more difficult.

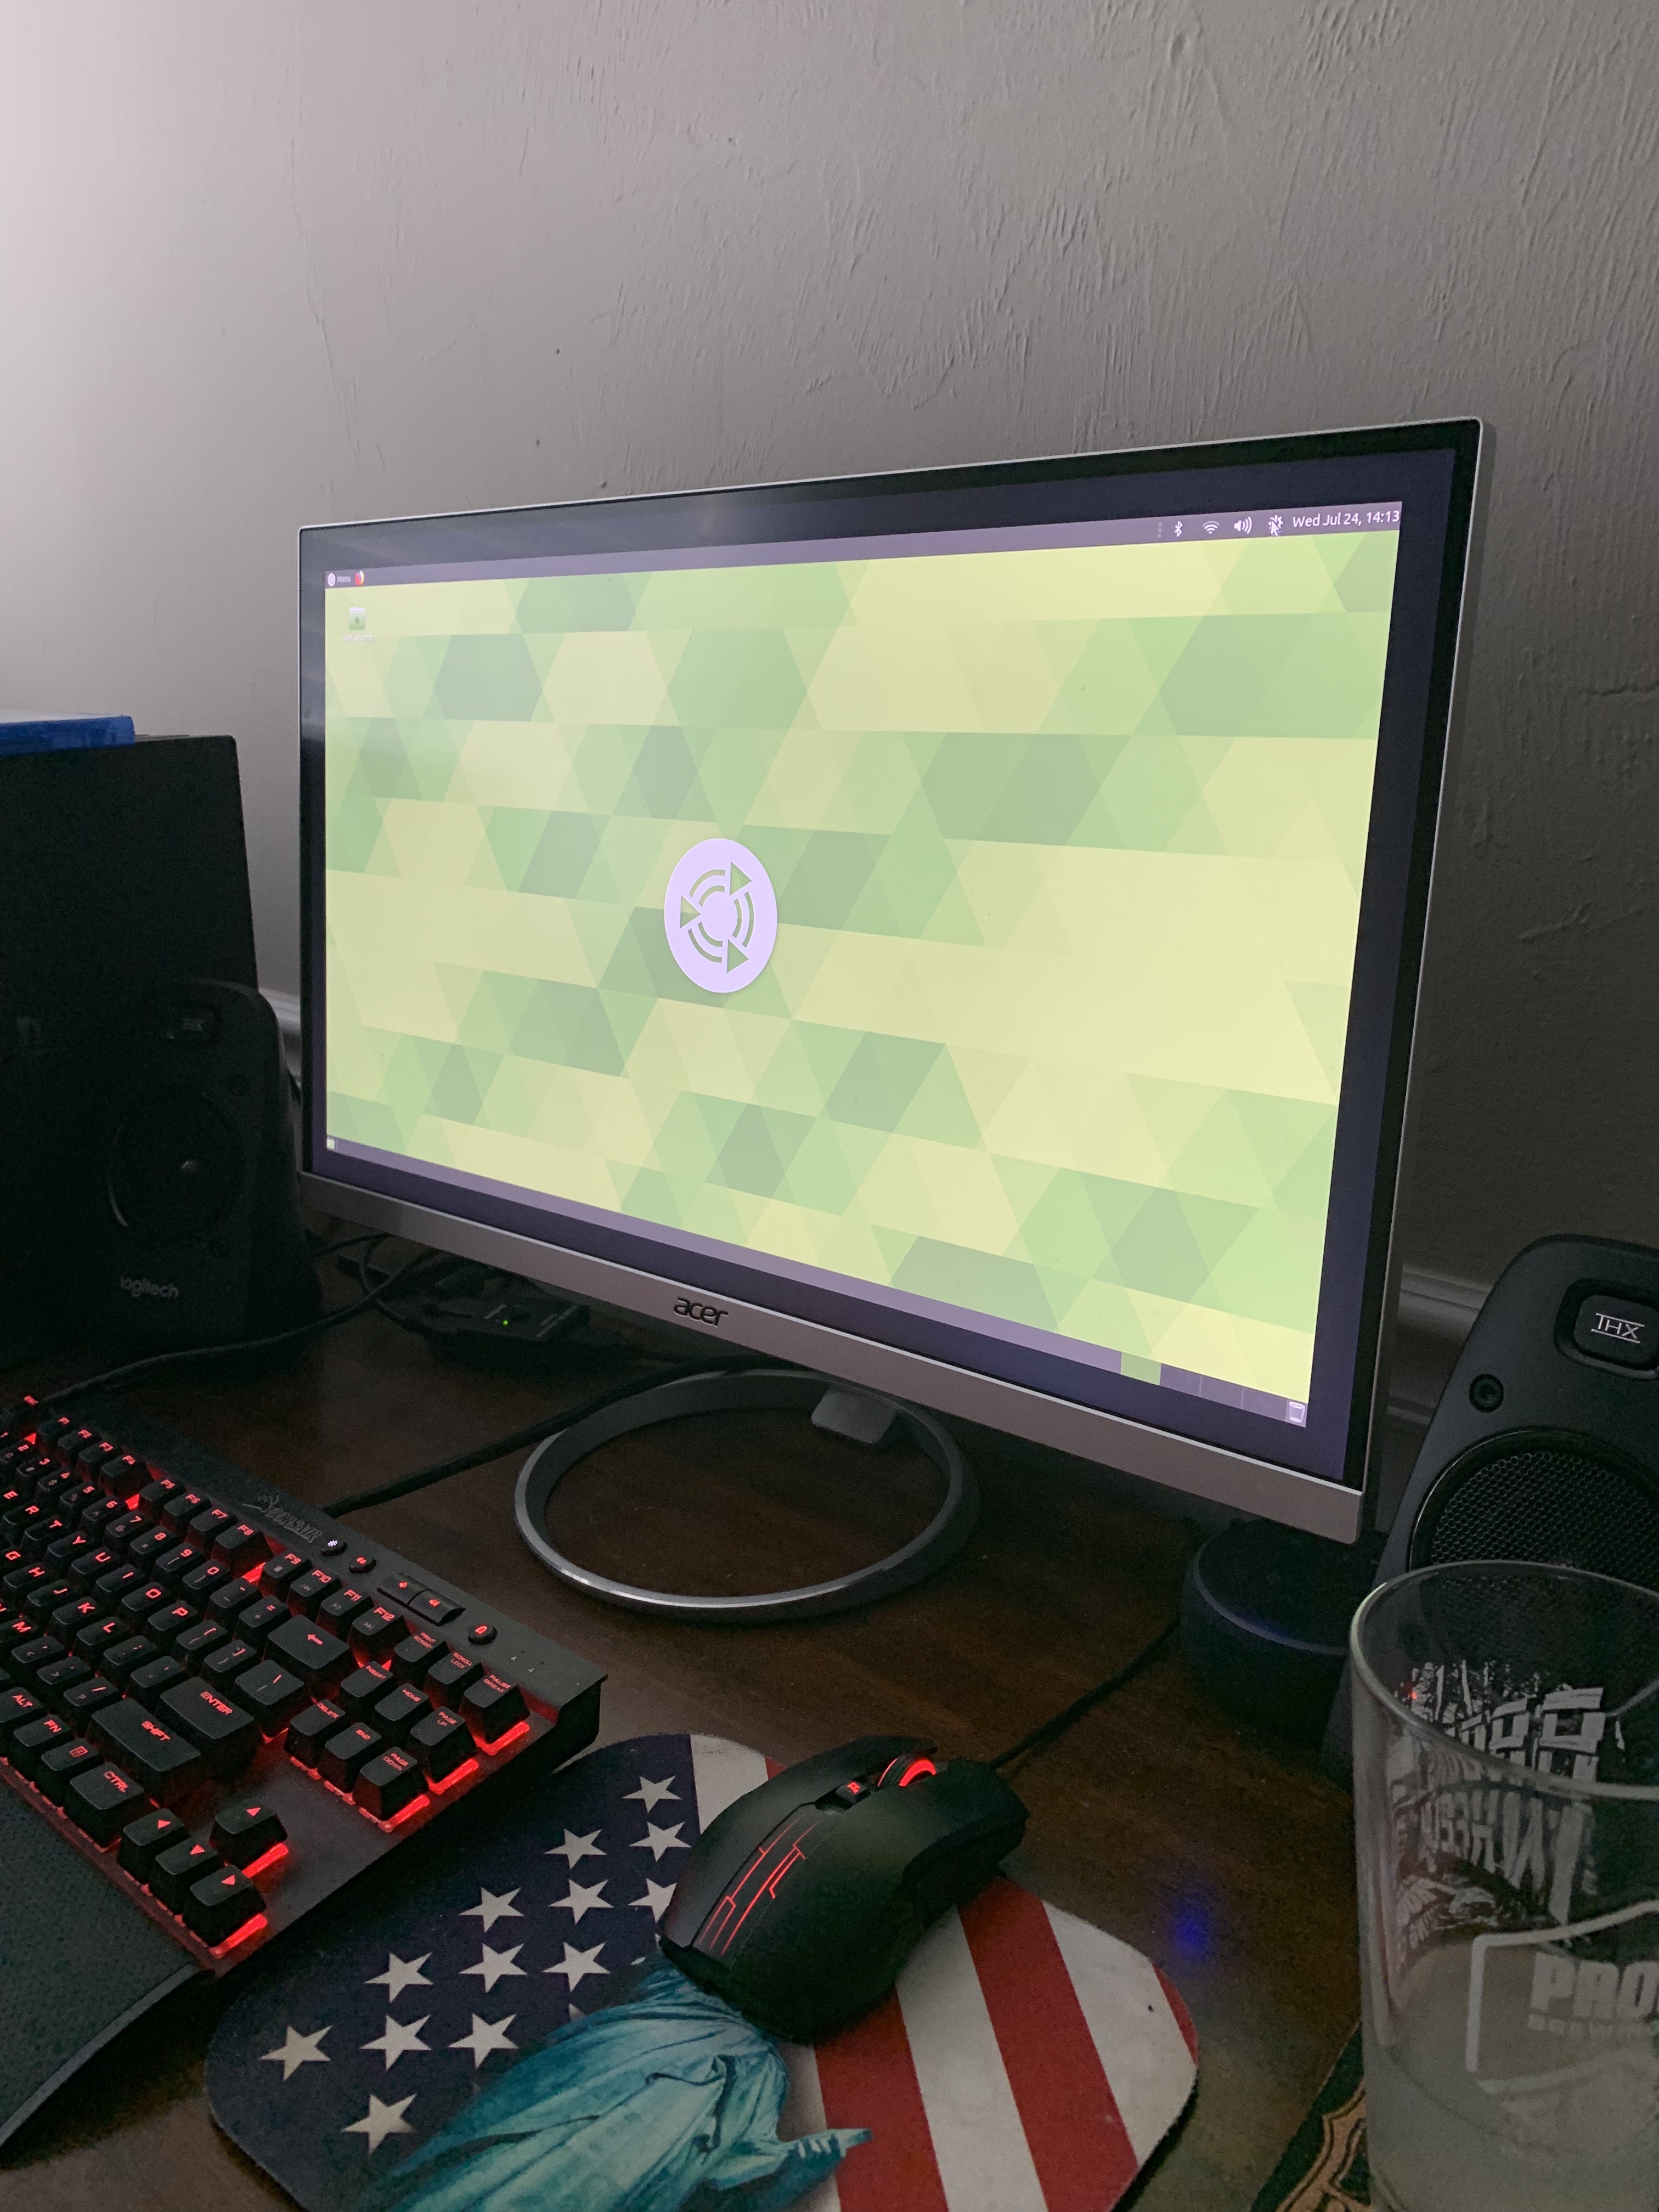
In order to test our maze game we set it up in settings to be able to transfer it to VR and then downloaded it straight to the USB to plug into the computers at the IHUB. We ran into a problem when trying to play it because the VR hand controllers did not want to work which explains why in the video we are simply just looking around at the walls and such rather than actually moving. Had we actually had maybe an Xbox controller or something of the like we may have been able to move around, unfortunately we were unable to locate a controller and couldn’t move around. Though if we test it on the UNITY program we can move around the complete maze and do what you would actually be able to in the VR headset had the controllers worked.

My partner was Brian Galloway who just uploaded this link to canvas on his as well.

Raspberry Pi Project

The raspberry pi was difficult for me, the actual device itself is a simple layout however getting something onto is the difficult part. When we were doing it in class in order to get NOOBS onto my SD card I could not manage to do it and my computer was a struggle to work with. I ended up having to use a friends computer in order to get it working and I also went out and bought a wireless computer which made the process a little bit easier rather than trying to do it a different way.I ended up putting ubuntu mate on there because I thought it would end up being the most versatile. You can use Excel on there, browse Firefox, use the calculator and many other things. I didn’t bother trying to put anything else on there because I did not want to mess up anything seeing as I struggled just to get the basic ubuntu mate on there.

My process for getting the Ubuntu Mate on there was to first format the micro-SD card to FAT32 and then flash the Ubuntu Mate ISO file onto the card to allow the Raspberry PI to boot from the card. Then just connected it to the computer and played around with the program a bit. In all honesty I probably won’t ever touch the Pi again which is why I didn’t put anything else on the PI.

3D Printed Eyeglass Holder

I am SO proud of my 3d printed eyeglass holder, I got it right the first time and didn’t botch anything, not to mention it actually worked which I was doubtful about. My original design I think was too small so I ended up redesigning it before I actually printed and it was probably a good thing I did. The process of printing it was actually a lot easier than I thought it would and I did print it early just in case I ended up printing spaghetti, thankfully I did not.

The purpose of my model was exactly as the title states, an eyeglass holder, and an eyeglass holder it is. It works darn near perfect and serves its purpose 100%. Out of all the projects I enjoyed this one the most, maybe because I actually knew what I was doing and had an actual reason for creating it. I did not have a problem designing it as it was just simple shapes and nothing to crazy, there is no real thing it is supposed to look like so you interpret as you like. I used to google to convert inches to mm so that I knew a relative size for it, I don’t if thats a smart idea or not but it seemed to work just fine for me. I would like so say that it is a universal sunglass holder.

So, I think for it being my first time ever using a 3D design software, mixer, slicer and 3D printer I did pretty darn well. I had a lot of fun making my holder and maybe will be designing and printing more things in the future.

Eyeglass Holder Model for 3D Print

I found my design pretty easy to make seeing as it is really just a bunch of shapes on each other so that part was easy. I was trying to make it look a little like a bear but it turned into looking like a bear/pig/robot mix thingy so as of now its just an odd ball with no real shape behind it. The part I struggled with was the size of it, I don’t know how big it will actually be when I print it (eventually), I honestly just guessed on the size so I may have to go back and adjust it once I do figure out what the proper size of it should be in real life. I tried to get my measurements as exact as possible, some might be slightly off but I think for the most part everything is even. It did not take me too long to put this together I just got lost like mentioned before in the sizing of everything, Either way I guess it doesn’t really matter as long as it can hold a pair of glasses up without a chance of them just falling off.

  • Size Measurements
  • Height of body- 80mm
  • Length of body- 70mm
  • Width of body- 50mm
  • HxLxW of where glasses sit- 15x20x21.255mm
  • HxLxW of ears- 10x10x11mm
  • HxLxW of both arms -10×7.831×35.069 mm

Fusion 360 v FreeCAD

Fusion 360 is a much better modeling software than FreeCad however there still some things I get annoyed about with it but they aren’t as bad as the FreeCad problems. I don’t like how you copy and paste in Fusion, FreeCad was much easier to do it in, simply because you just use the “Command”, “C” and “V” keys in order to do it. Fusion360 I think did a much better job of making them look real as far as curvature and clarity goes though it was a little more difficult to figure out how to join pieces and make sure they’re even with each other (the aviators kinda show my struggle with it). Fusion 360 is easier to navigate and do the things you need to do seeing as all the buttons are clearly labeled and you aren’t just looking at shapes that could do something you want but in the end being the wrong button. I like working with Fusion360 better which I think the vast majority of people will. The aviators were 10x easier to create in Fusion because you could just use the spline tool to create the curves of the lenses and of the arms compared to FreeCad which was just meshing pieces together. The bowler hat was a little more difficult to get the lip on but it was still simple compared to FreeCAD. Overall both programs I think have their pros and cons but obviously Fusion360 is a little more advanced than FreeCAD, it also probably explains why one is free and the other you can buy or use a student login for.

FreeCad

FreeCad is hell. No other way to put it besides that, there’s no simple way to do anything on the program. I don’t think I’ve ever been more frustrated trying to get something to work, whether it was trying to get it to open on my computer (may have been user error) or trying to get my sketch to pad without it disappearing.

The tutorial was hard enough to finish and that is supposed to be the easiest thing however I found it more difficult than trying to put together my own designs. I however after restarting about 5x got the tutorial finished and looking the way it is supposed to.

As far as the desk gadget went I kept it simple in order not to overcomplicate things even more. I simply went with a rectangle design to fit on the desk, padded it and then created a new sketch on the left side with multiple different holes of different sizes to hold all your cord necessities, no matter the size and then used the hole tool to make a hole “through all”. I did do another one that turned out little worse than the hole-y one but I think it would to hold cords just as well though it is a tad bit thin. I used pretty much the same steps as the first gadget design, though instead of the circle tool I used an arc and then used the pocket tool.

The two different locking pieces that would stay together presented a different challenge of making sure that the where the pieces would stick together were the same size and would actually hold. I made two different designs for this one, an original lock using two cylinders and then a key that would fit in the bottom and then I did a simple set of two puzzles pieces that fit together. The lock is very interpretive seeing as it doesn’t really look like a classic lock but more like a kid lock that corporate shapes. I began with a square, then padded it, and then created a new sketch using the top to create two circles and put a hole in it and then on the bottom I used an arc and the polyline tool to create the simple key shape hole. In two separate documents I used the same measurements as the key hole to create the key and just added that on to a rectangle shape and the padded it to make it dimensional. The top lock handle was a bit more difficult as I couldn’t figure out how to integrate the curve with the cylinders at the end hence the weird shape but I used the same dimension from the lock once again and then padded the cylinders on the bottom of the handle. The puzzle pieces were simple just creating a basic puzzle pice shape with the outward and inward pieces and then padding it to make it dimensional. Then the second piece which sticks into the the first piece at the bottom, was the made the same way but for using the dimensions of the hole in piece one I created the outward design to ensure they would stick together. ( The puzzle pieces are in order in the pictures, the second piece sticks to the first at the bottom)

Last picture is of the desk that would hold the gadget for the cords.

I never want to work with FreeCad again.

Tinkercad

I think Tinkercad is fun to mess around with and see what you can create even though it is a basic website for 3D modeling. I didn’t have to much trouble creating all the different items, however some took longer than others such as the bowler hat and aviator glasses. Everything else like the egg, pvc tube, spoon presented slight challenges however they used simple shapes and were easy enough to construct without having to make a lot of cutouts. The aviators on the other hand got me going, I had no idea where to start at first until I looked long enough at a picture of them and I still don’t think I got super close to a pair that look good, but I think you could guess that they are indeed a pair of aviator sunglasses.

It took me a little longer than two hours to create a pair of glasses that I was happy with. My biggest struggle of creating the glasses were the lenses themselves, I couldn’t seem to make the square oval look on them so I got them as close as I could using an oval. I feel like mine look more like a retro pair of aviators rather than the newer ones, they are definitely an interpretation of aviators rather than looking exactly like a pair of real ones. Another problem I ran into was with the spoon and trying to create the curve need to lead in to the spoon part so I made two different versions of a spoon, interpret them as you would like. The bowler hat was simple enough, just a matter of getting the correct brim on the hat and the fact that it needs to be oval in shape rather than round. The egg and pvc were definitely the easier ones, simply using 4 sets of tubes for the pipe and 4 sets of the half spheres for the egg. The erlenmeyer flask I think was the most interesting one to create because you have to figure out the curvature of the neck and and base in using a cone which I never would of thought of had I not had an in class walkthrough. Tinkercad overall is fun site to mess around with, but doesn’t have much practical use other than that.

App Inventor Group Project

Political Punisher

As a group we have worked really hard and have created most of the app already and just need to work out some of the kinks such as the pictures displaying and the rock colliding with the political figures. Since, as some may already know I’m not very experienced in the creation of blocks in App Inventor so I have volunteered to do the How To screen and to write the comprehensive end paper explaining everything we did as a group. The How To screen will display the instructions for the game such as how to fling the rock or refill the ammo. It will also allow you to go back to the home screen so that you can begin the game.

We have all worked really well together and gotten all of our ideas compiled together to make a working game that may be considered sorta controversial. We named the app Political Punisher to display the basis of the game which is to fling rocks towards the faces of different political figures whether some may consider them bad or good. In order to resupply your rocks the phone will vibrate to let you know that you are empty and to refill it you will need to shake your phone. The game runs on a timer so that when it runs out the game is over and your score will display.

We have met a total so far of two times outside of class and two times during class for which that time was given to us. A lot has gotten done and for Wednesdays class 06.05 the app will be ready for someone to test and then anything that was mentioned as a problem will be fixed so that the final and complete app will be ready by the time it is due on Monday. In the end everything is going great and we should have a pretty decent app by the time it is due on Monday.

Working with App Inventor

Overall, my experience with AppInventor was not so great, I had trouble figuring out what I wanted to do and once I did, I had trouble figuring out how to do and set it up right. I knew I wanted to do a game but wasn’t sure what kind, at first it was a memory game but then I decide to do a ball bouncing game. Everyone likes a good ole fashioned brick and ball game right?

To get started, I did have to look up a basic tutorial through the AppInventor website to get the basics such as, the ball moving, and how to set the edges and speed etc… However, I managed to put together the blocks that make the brick images disappear when they are hit and for the ball to change color when it is first flung. I still do not have it set completely right as the only problem remaining is that the ball tends to go completely off the screen on the bottom and right hand side. I also meant to put in an opening screen that allowed you to click a gif that would take you to the game (the image at the bottom), however I did all the blocks and pictures on screen 1 and it was too much of a hassle to switch them around. If I have time I may end up switching it around so it looks more like a complete game rather than just a screen popping up with a ball and bricks on it.

In the end I think if I keep working at it I will be able to make the game work like it should and add more components to it . Not to mention as time went on all the blocks and what they do slowly made sense so there hopefully won’t be a need for any more tutorials but rather just trial and error.